
When copying a project to a new library, Final Cut Pro leaves out clips the project never uses. If the timeline uses any part of a clip, Final Cut Pro copies that clip’s entire source file.
If your project uses 20 seconds from a one-hour recording, the archive still includes the complete one-hour file. ArchiveCut can trim that file to the section used in the edit.
Create a used-media archive in Final Cut Pro
For a basic archive using Final Cut Pro alone:
- Select the finished project in the browser.
- Choose File > Copy Project to Library > New Library.
- Include media stored in external locations.
- Leave optimized and proxy media out unless you specifically need them.
Apple documents this workflow in its guide to copying a Final Cut Pro project to another Mac.
This works well when you only need to remove completely unused clips. It does not remove unused sections from clips that appear in the timeline.
Make the archive smaller by trimming used files
ArchiveCut reads an exported Final Cut Pro XML file and finds the source ranges used by the selected project. It creates a separate archive containing trimmed copies of those files and a rewritten XML file that links to them.
The workflow is:
- Select the project in Final Cut Pro and choose File > Export XML.
- Open the exported file in ArchiveCut.
- Review the included media and estimated savings.
- Choose the amount of extra media, called handles, to keep around each edit.
- Create the archive and open its XML in Final Cut Pro.
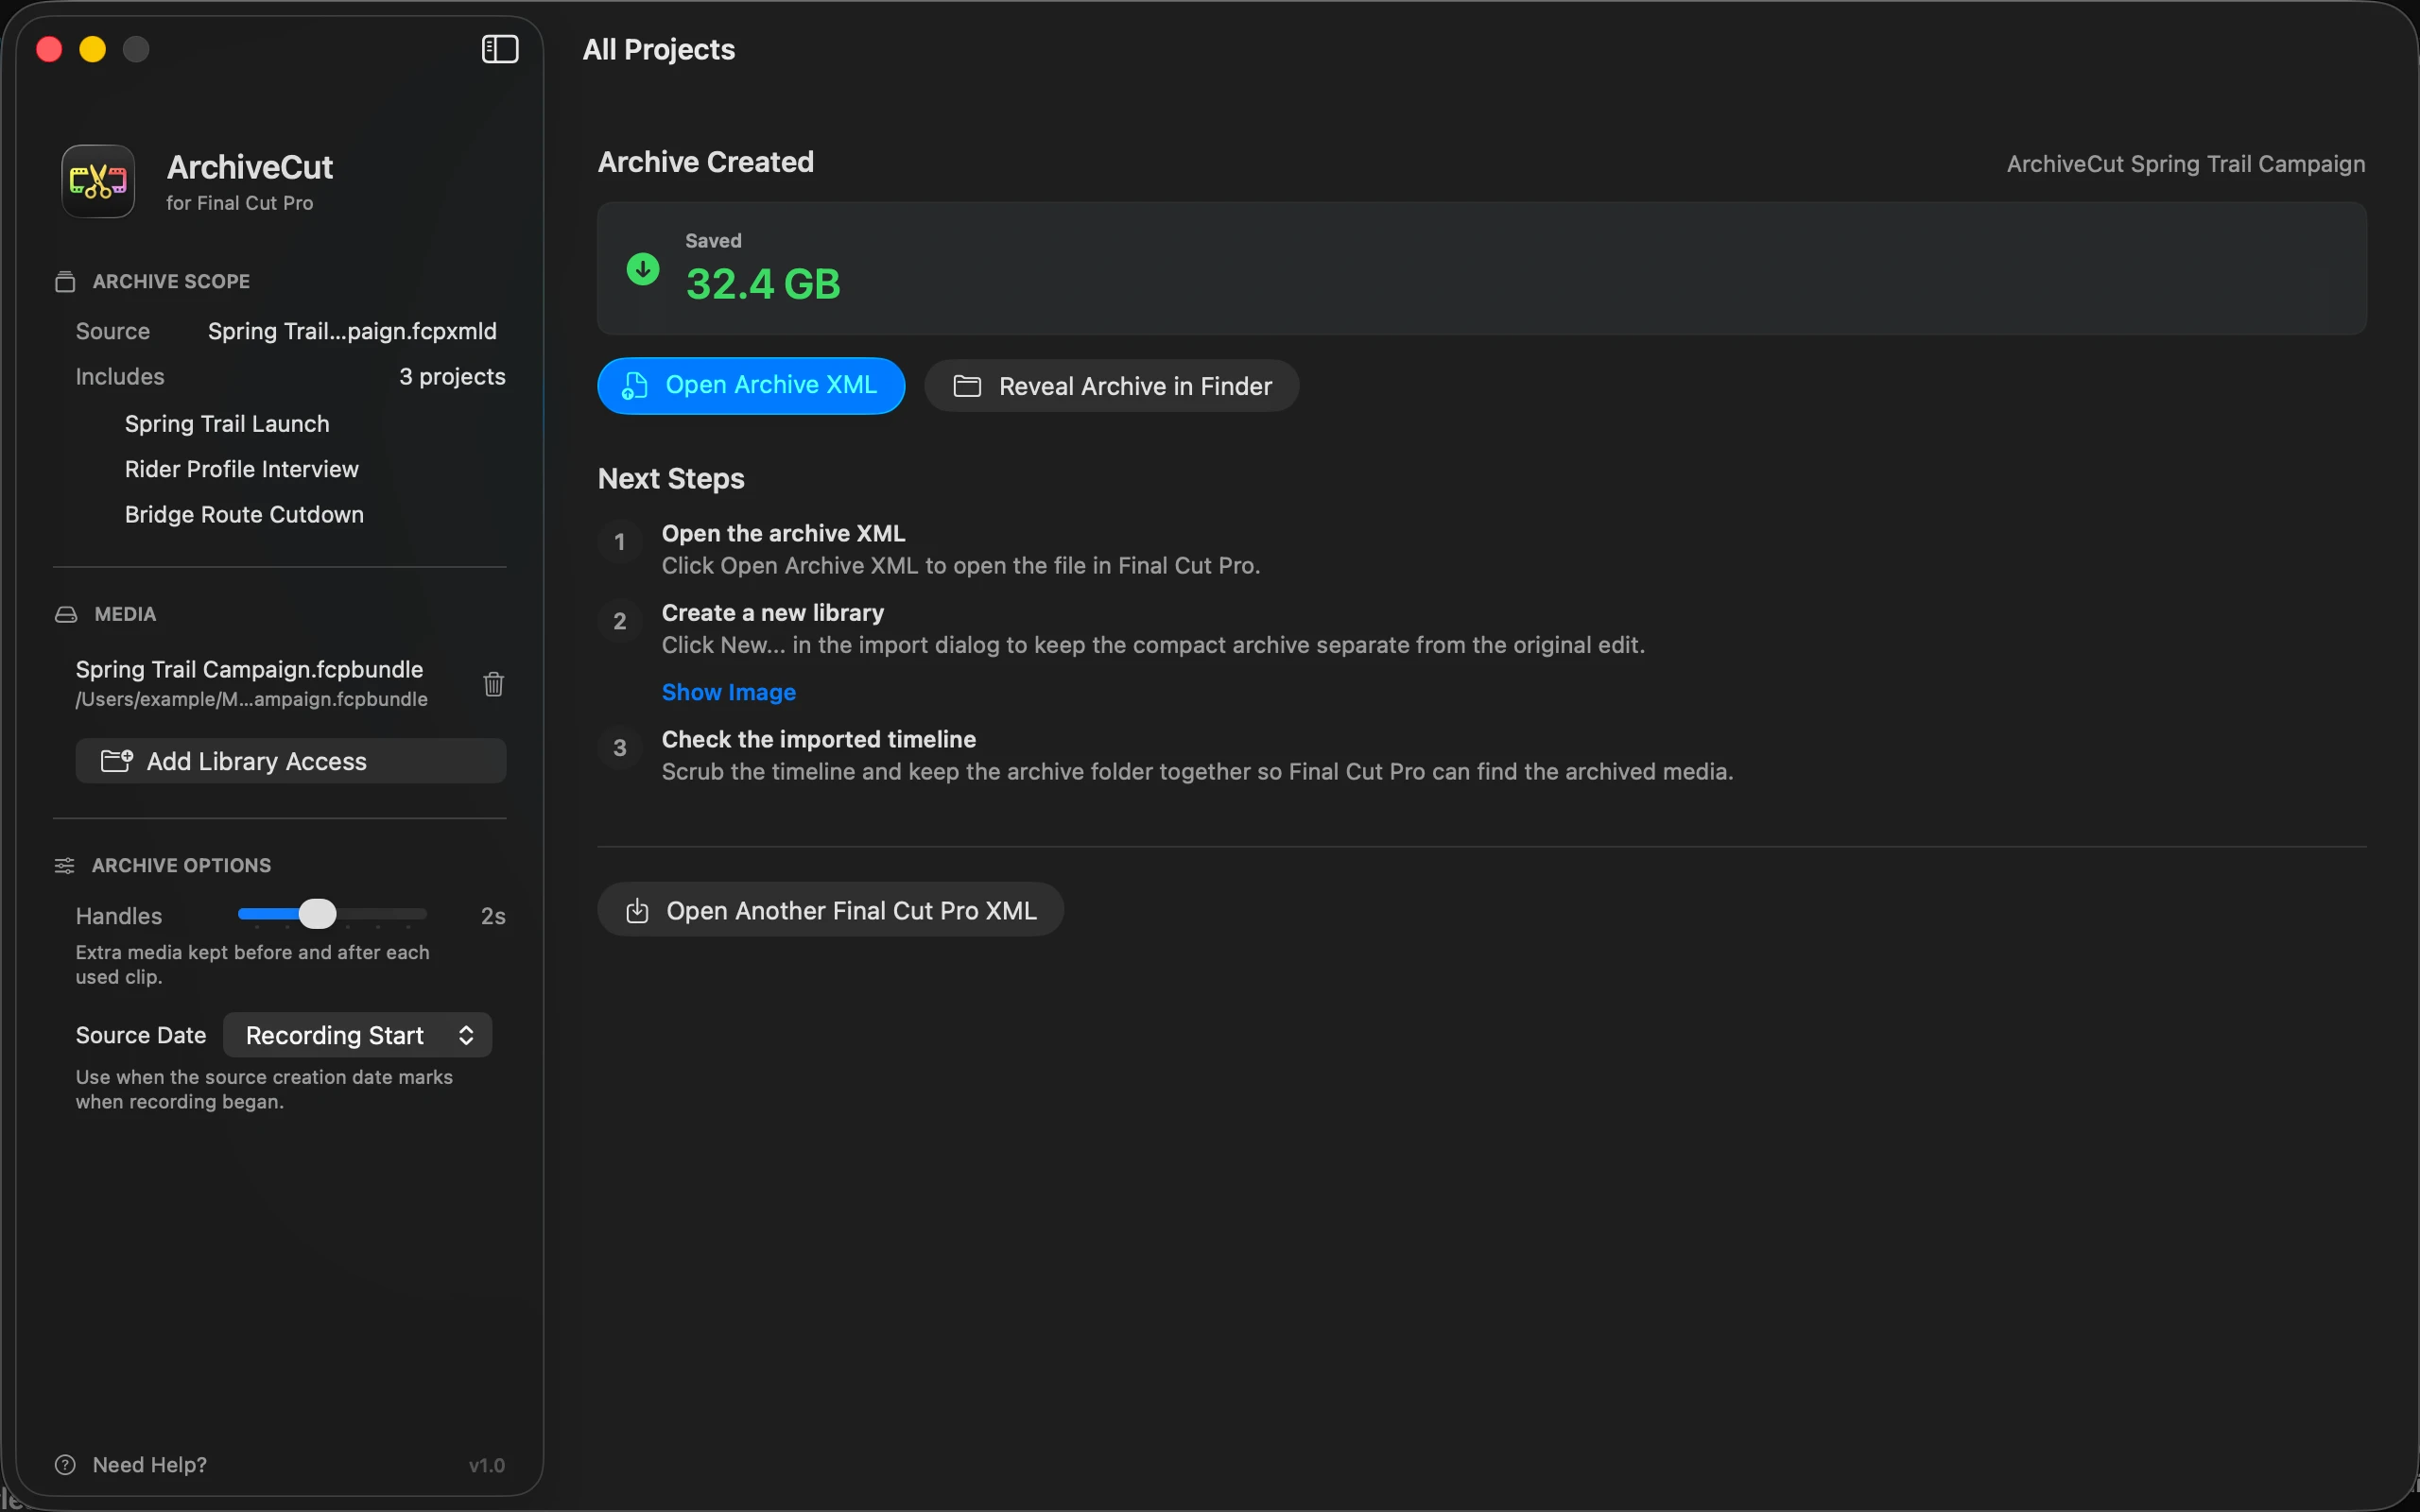
The result is a separate folder containing trimmed media and Final Cut Pro XML that links the edit to those files. ArchiveCut leaves the original library and media unchanged.
Project, event, or library?
Export the final project for the smallest archive. Export an event if you need to preserve several edits or versions. Export the library when every project it contains must remain available.