
Final Cut Pro can show which parts of a clip are used by a project, but it cannot shorten the source file. Copying or consolidating the project still keeps the complete file.
If a timeline uses three minutes from a two-hour interview, the built-in archive includes the full two-hour recording. ArchiveCut can instead create an archive containing only the parts used in the timeline, plus optional handles.
See which parts of a clip are used
Choose View > Browser > Used Media Ranges to see which portions of each clip appear in the timeline. When you copy the project to another library or consolidate its media, Final Cut Pro still brings over each complete source file.
Create an archive with only the used parts
ArchiveCut creates a trimmed archive from Final Cut Pro XML:
- Select the finished project, event, or library in Final Cut Pro.
- Choose File > Export XML.
- Open the XML file in ArchiveCut.
- Review the used ranges and estimated savings.
- Set handles for extra media around each edit.
- Create the archive.
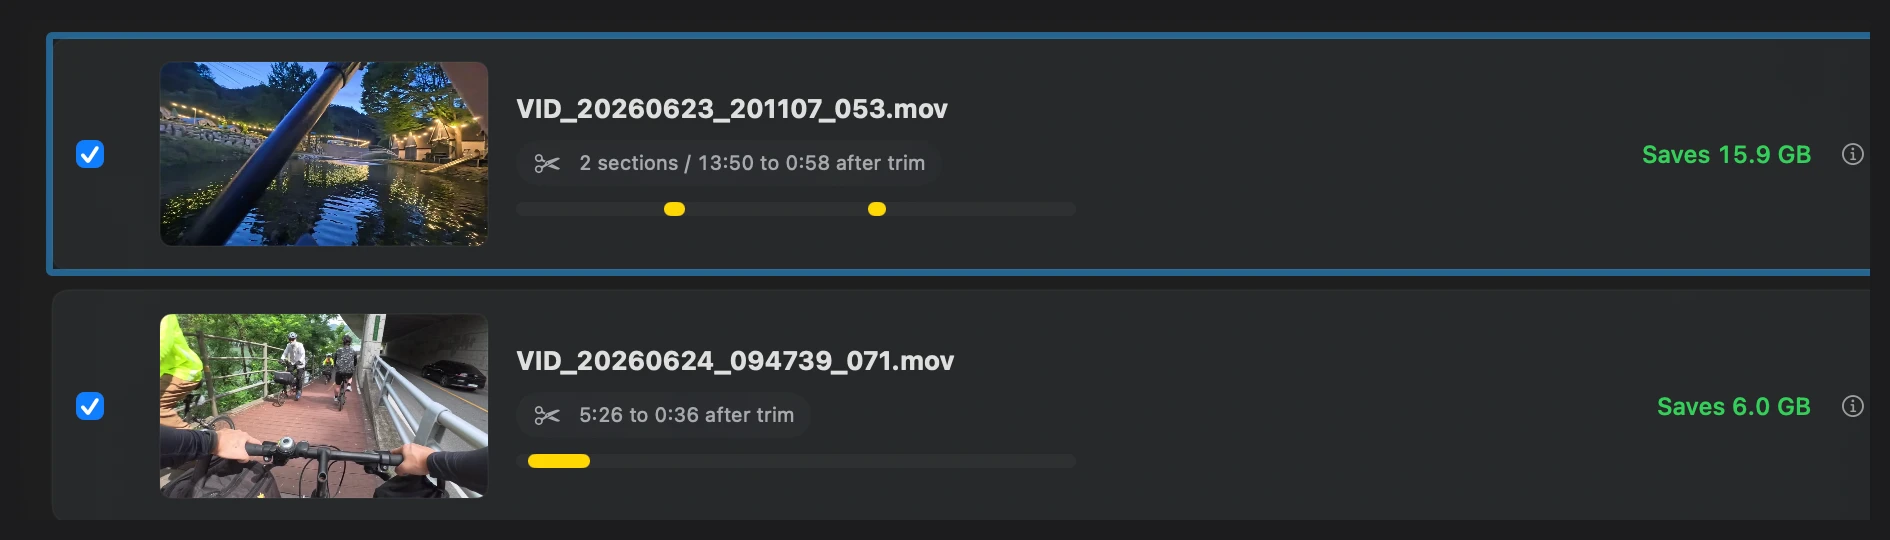
Handles keep extra media before and after each used range, giving you room to extend or shift an edit later.
Open the archive in Final Cut Pro
When ArchiveCut finishes, click Open Archive XML. In Final Cut Pro, add the project to an existing archive library or create a new one. The imported project uses the trimmed media in ArchiveCut’s Media folder.
Keep the library and ArchiveCut folder together, or set the library’s media location to In Library and choose File > Consolidate Library Media to create a single-library archive.