· 6 min read
Recovering missing footage from an Insta360 camera
A practical guide to using TestDisk and PhotoRec when footage disappears from an Insta360 camera's microSD card.
I filmed a six-day Jeju trip with an Insta360 GO Ultra. The remaining recording time decreased normally throughout the trip, so everything appeared to be saved.
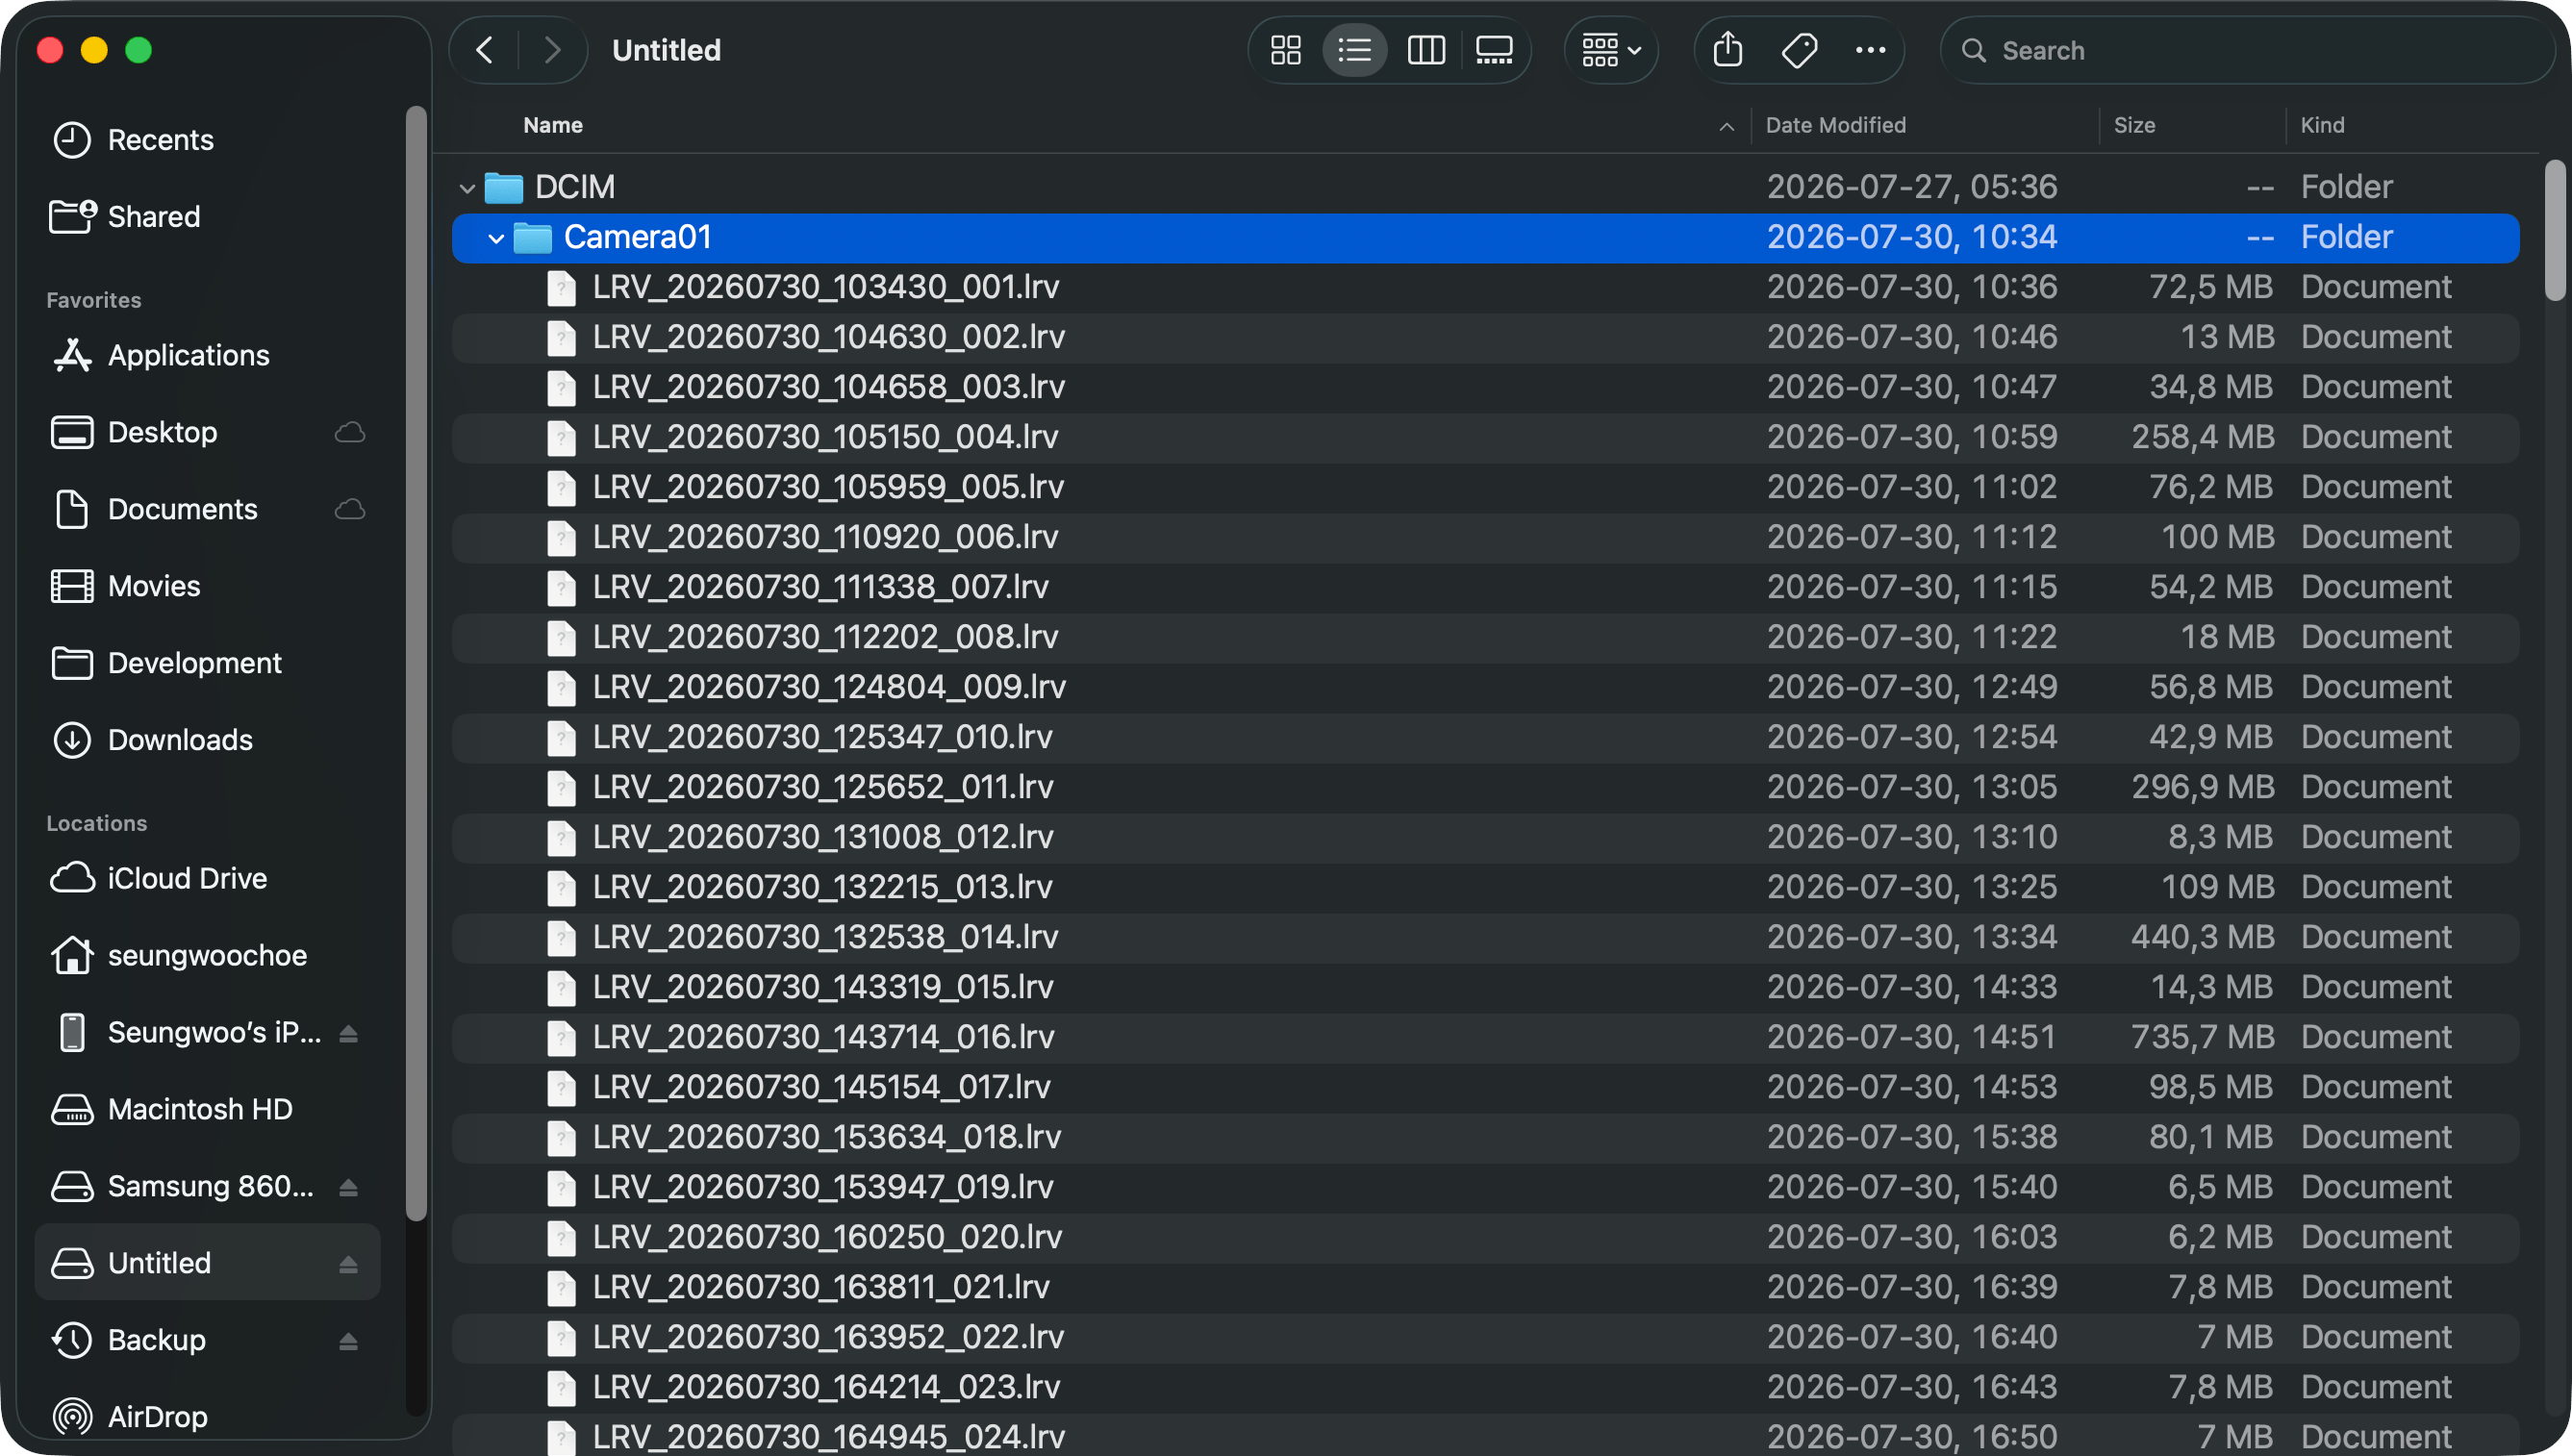
Back home, I inserted the card into my Mac’s SD card slot with an adapter. It mounted but appeared empty, with no DCIM folder. I returned the card to the GO Ultra and connected the camera to my Mac with a cable, but it was still empty. I tried the SD card slot and adapter once more. This time, files appeared, but only from the fourth day onward and numbered from 001.
I do not know what caused this. I stopped recording to the card and attempted recovery without writing anything else to it.
The general steps below may help when files disappear from an Insta360 camera’s microSD card. I used them to recover footage from a microSD card used in a GO Ultra. The final, script-based reconstruction is specific to the file layout I found on that card and is not a universal repair method.
Protect the source first
As soon as files go missing, stop recording to the card. Do not format it, run First Aid, or let an app repair it. Any change to the card may overwrite video data that could still be recovered.
Save everything you recover to a different physical drive, not merely another folder on the same card. Recovery creates new files, and saving those files onto the problem card could overwrite footage that has not yet been found.
The two tools used below serve different purposes. TestDisk looks for lost file and folder records. PhotoRec searches the card for recognizable file data even when those records are gone. Both can copy files without changing the source, as long as you avoid TestDisk’s write and repair options and save the results elsewhere.
If the card reports read errors or repeatedly disconnects, stop and consider professional recovery. The steps below assume the card itself is physically healthy.
Install the tools and find the card
TestDisk and PhotoRec come in the same package. With Homebrew, install them in Terminal with:
brew install testdiskNext, find the identifier macOS assigned to the card. My Mac treated its built-in SD card slot as internal storage, despite the card being removable, so I used:
diskutil list internal physicalIf your reader appears as external storage, use diskutil list external physical, or use diskutil list to see every disk. Find the entry whose capacity matches the card. Replace diskN below with its identifier, such as disk4. Check this carefully so that you select the affected SD card, not your Mac’s storage or any other connected drive.
Before recovery, unmount the whole card without physically ejecting it:
diskutil unmountDisk /dev/diskNUnmounting closes the card in Finder while keeping it available to recovery software. If TestDisk or PhotoRec lists no disks, grant Terminal Full Disk Access in System Settings → Privacy & Security.
Try TestDisk first
Start with TestDisk because it may recover the original filenames and folders:
The sudo command below asks for your Mac login password. Terminal does not show anything while you type it; press Return when finished.
sudo testdisk /dev/rdiskNTestDisk uses a text interface. Navigate with the arrow keys and confirm with Return. I followed this path:
- Choose Create to save a diagnostic log. This does not modify the SD card.
- Select the SD card by its size, then choose Proceed.
- Accept the partition-table type TestDisk detects automatically.
- Choose Advanced.
- Select the exFAT partition and choose Undelete.
- Look for the missing folder or files. If they appear, press
cto copy them, then select a folder on another drive as the destination.
TestDisk could see the card’s current files, but it could not find the missing recordings. I quit without choosing any write or repair operation. If TestDisk recovers everything, you can stop here.
Recover file data with PhotoRec
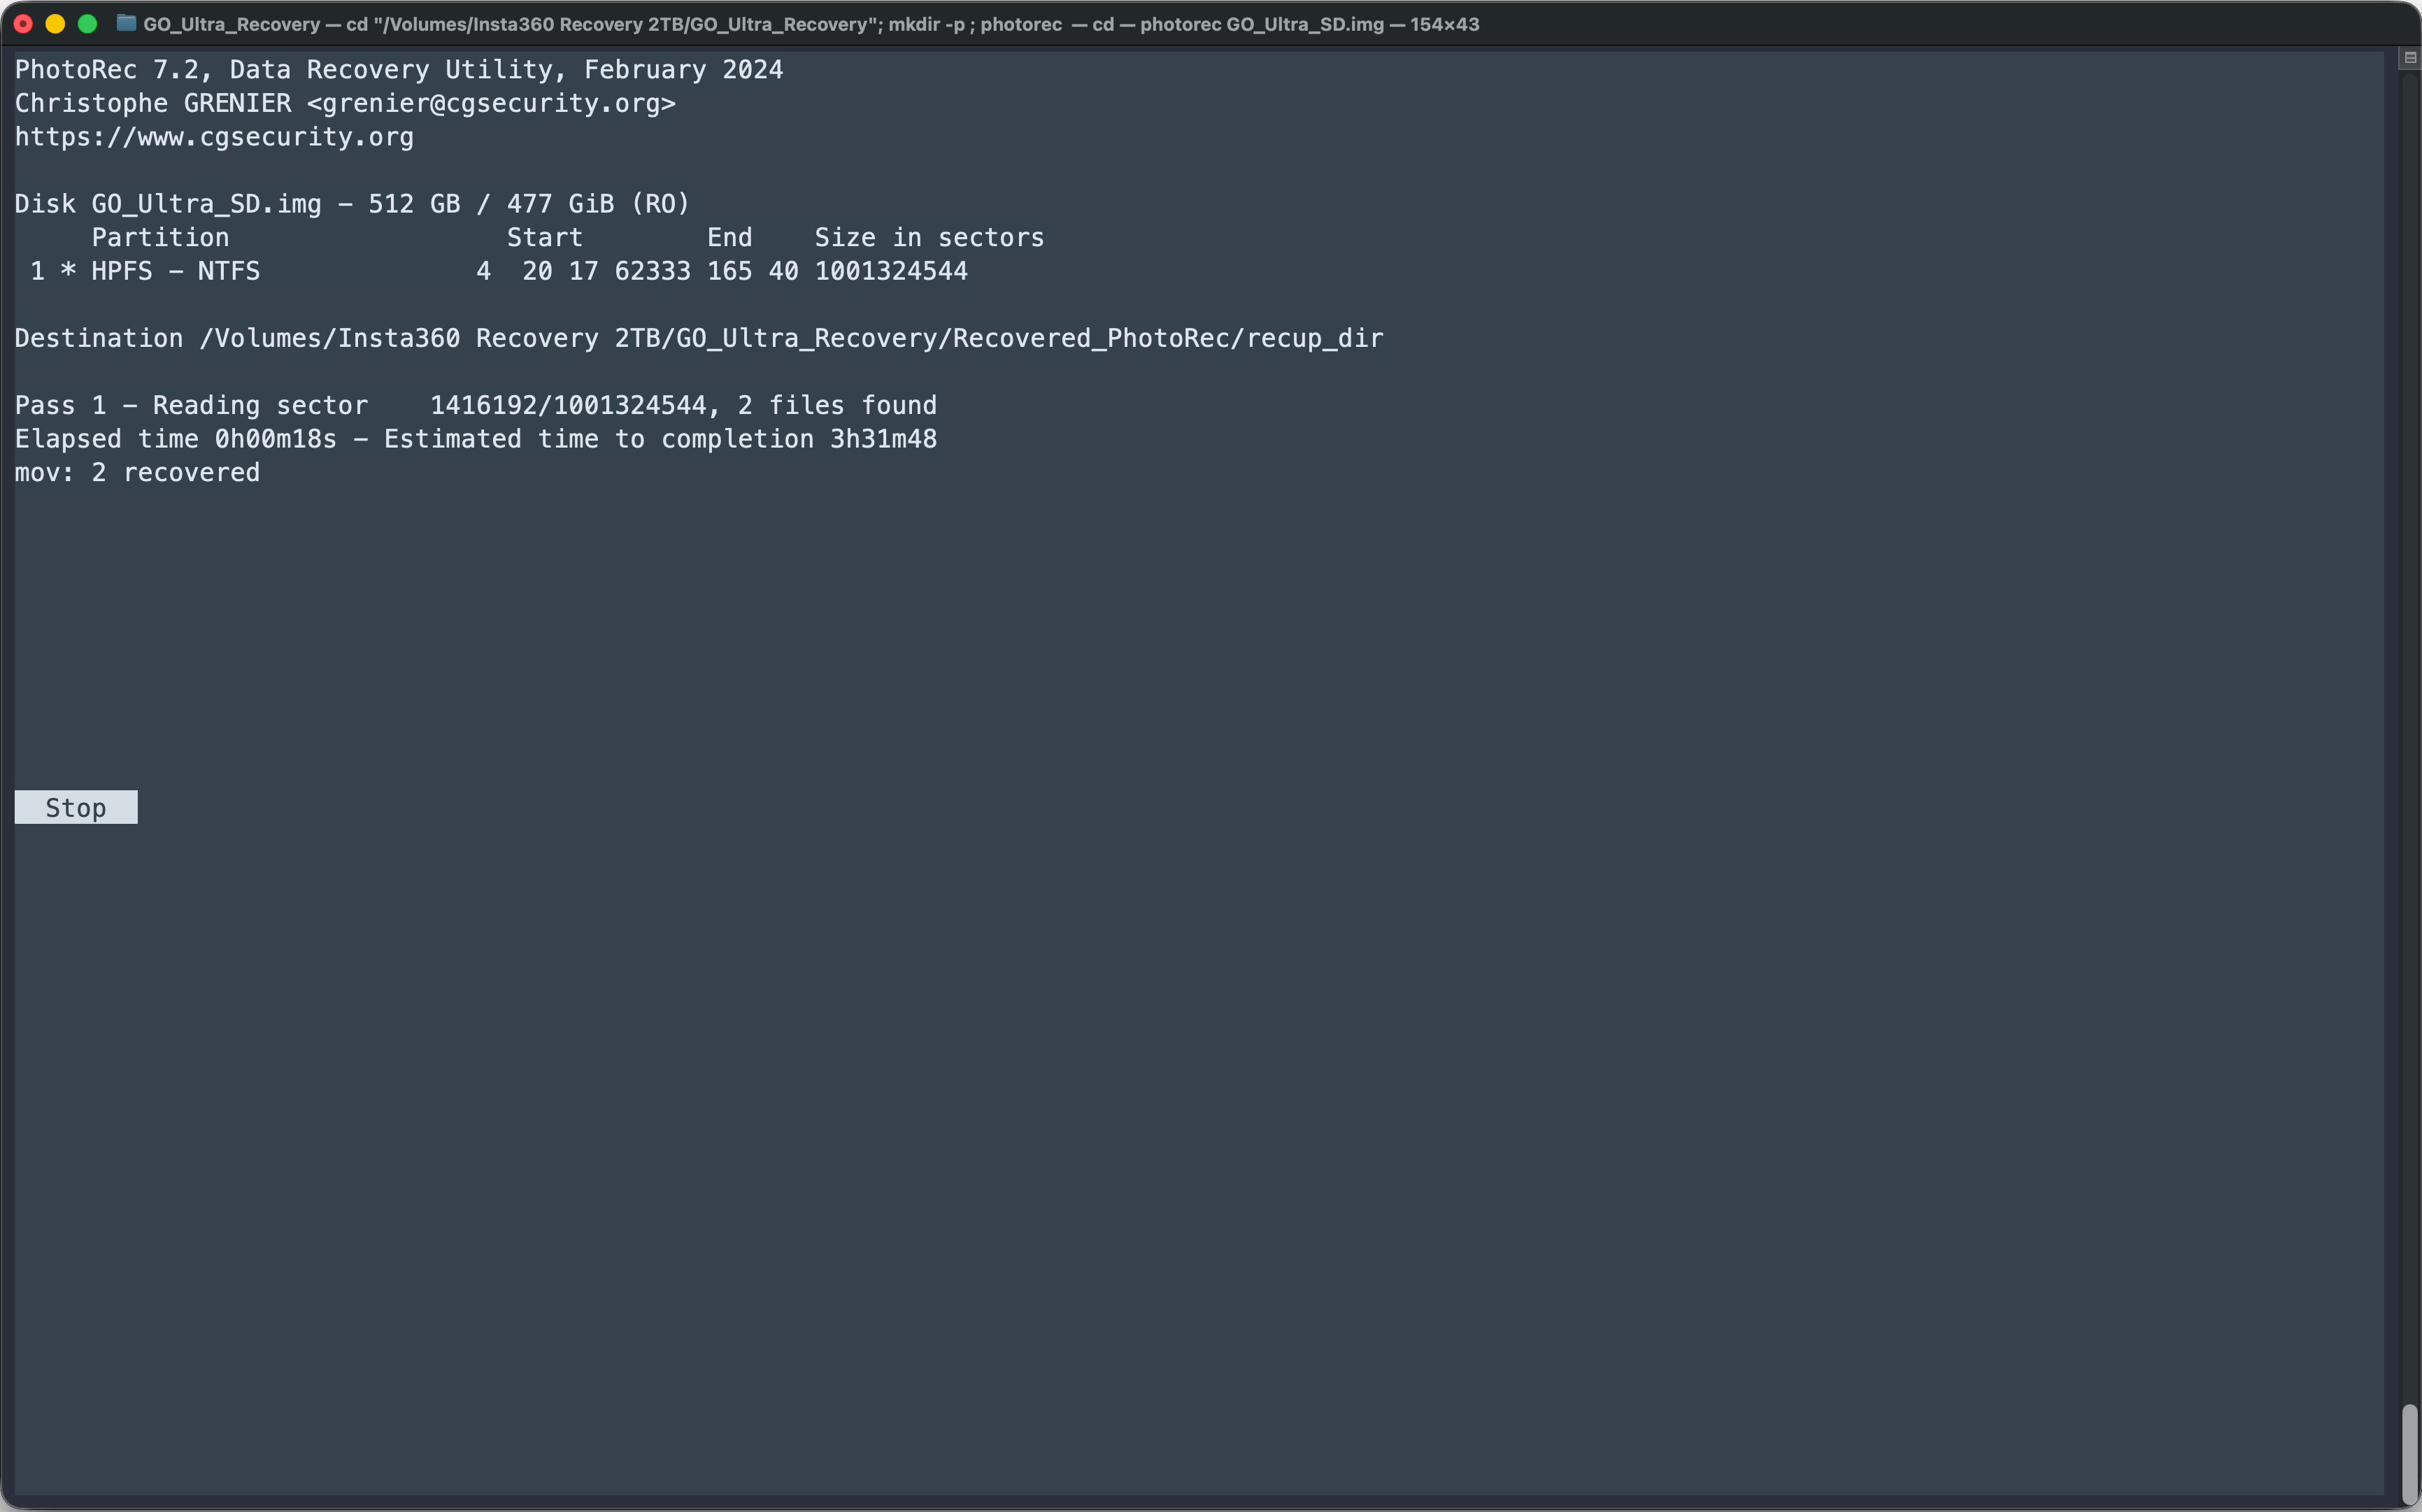
PhotoRec does not rely on filenames or folders. It scans the card for known file types. I ran it against the same card:
sudo photorec /dev/rdiskNInside PhotoRec:
- Select the SD card by its capacity, then select its exFAT partition.
- Open File Opt and make sure MOV/MP4 recovery is enabled. If you used a 360° camera, keep every related result because one recording may use more than one file.
- Choose Search.
- Choose Other for the filesystem type. In PhotoRec, Other includes exFAT.
- Choose Whole to scan the entire partition. I used this because the card’s file and folder information was incomplete.
- Choose a destination on another physical drive. On macOS, press the left arrow until you can enter the
/Volumesfolder, then select the recovery drive and pressCto start.
Double-check that the destination is not the affected SD card. Also avoid a FAT32 destination because it cannot store individual files larger than 4 GB. PhotoRec writes results into folders named recup_dir.1, recup_dir.2, and so on. Keep those folders, report.xml, and the original recovered filenames; they can help with later repair.
PhotoRec succeeded where TestDisk had failed. It found hundreds of MOV files with names such as:
f826880_ftyp.mov
f877056_ftyp.mov
The number records roughly where PhotoRec found the file on the card. That detail became essential later.
Why some recovered videos would not play
Most of the MOV files PhotoRec recovered from my card would not play.
Video files contain the picture and sound plus information a player needs to read them. Many recovered files were missing that information or contained pieces of another file.
PhotoRec has a mov/mdat option for cameras that divide a video into two parts. My card had divided videos into many pieces, so that repair was not enough.
Insta360 360° cameras use INSV files and may create a pair of files for one recording. Recover every matching file before attempting repair. I did not test the reconstruction below with 360° footage.
Reconstruct the residual exFAT chains
exFAT keeps information about where each piece of a file is stored. Although the filenames and folders were gone, much of that information remained. I used the location number in each PhotoRec filename to find the original video and reassemble its pieces in the correct order.
For each possible video, my scripts:
- Matched each PhotoRec result to its original location on the card.
- Reassembled the pieces using the remaining exFAT information.
- Checked that the rebuilt file contained its video data and playback information.
- Read its original recording date and kept recordings from the missing days.
- Saved it to the recovery drive only after the expected file length was complete.
I published the case-specific scripts and commands in the Insta360 footage recovery repository. This is an advanced step, not a one-click repair tool. Card layouts and camera file formats vary, so review the instructions and generated reports before extracting anything.
Validate decoded frames
A movie opening successfully does not prove that all of it is intact. I checked each rebuilt file with FFprobe, then used FFmpeg to decode frames near the beginning, middle, and end:
ffmpeg -v error -xerror -ss 0 -i recovered.mp4 \
  -map 0:v:0 -frames:v 1 -f framemd5 -
This recovered the missing main recordings and their preview companions from the affected days. I separated previews from the main files, isolated the previews whose main recording could not be recovered, and restored the files’ dates from the original recording timestamps.
The useful lesson was that PhotoRec had not failed when it returned unplayable movies. It had found their beginnings, and the card still contained both the missing pieces and enough information to put them back together.